Installation #
Check requirements
Glibc 2.31+
Linux Kernel 5.9+
Download the latest release of wag:
curl -L https://github.com/NHAS/wag/releases/latest/download/wag -o wag && chmod +x wagEnable the wag host to act as a router:
sudo sysctl -w net.ipv4.ip_forward=1Generate a base configuration file for wag
sudo ./wag gen-config
Configuration #
From here you’ll want to add ACLs (access control policies) to define what users can access, the easiest way to do this is using the management UI (which you hopefully enabled in step 4 above).
Or you can always edit the JSON configuration file that was generated.
See the full configuration file reference here.
Add yourself an administrative user using the webadmin subcommand:
sudo ./wag webadmin -add -username <your_username> -password <password_here>
Then login to the web interface in this example the web interface is listening on localhost:4433:
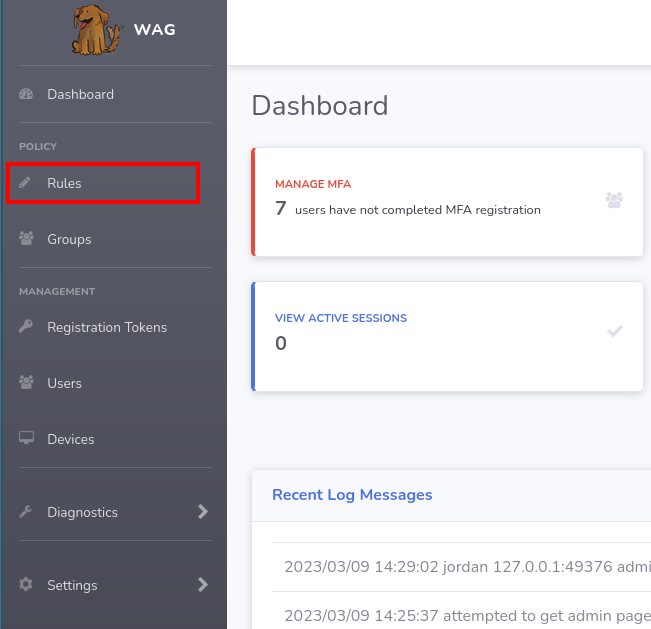
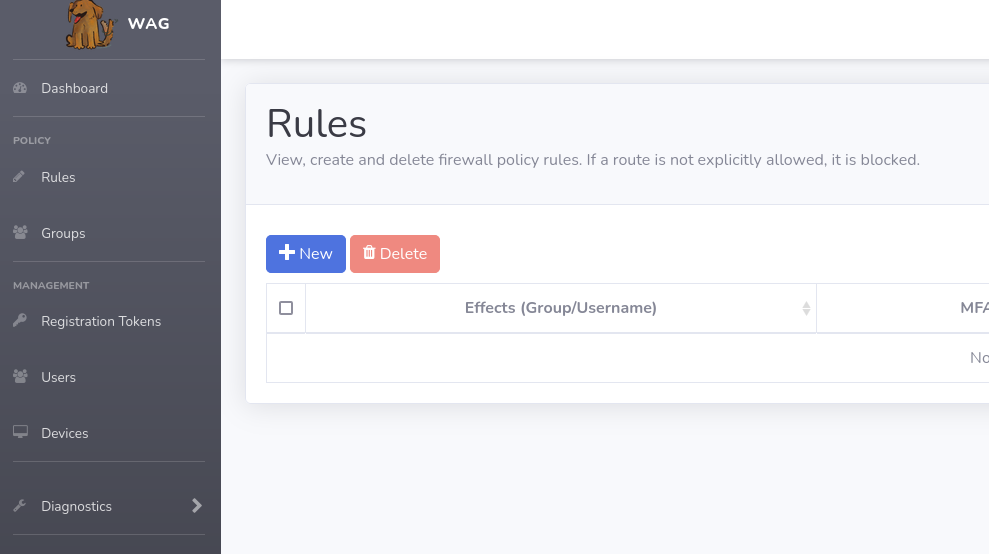
Navigate to “Rules”:
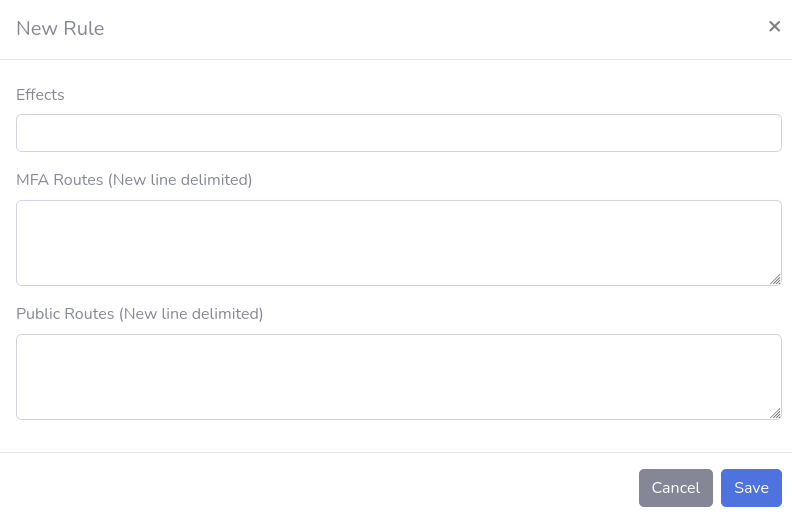
Click + New:
The effects input defines what user, or group the rule applies to.
To apply to all users, set this to *.
Define your users and rules, the syntax for rule definitions can be found here:
Open your configuration file in whatever editor you prefer.
nano config.json
Navigate to the Policies section:
...
"Policies": {

    }
...
Info
Find rule syntax here:
Add your rules:
    "Policies": {
    "*": {
        "Allow": [
            "10.7.7.7",
            "google.com"
        ]
    },
    "username": {
            "Allow":[ "10.0.0.1/32"]
    },
    "group:nerds": {
        "Mfa": [
            "192.168.3.4/32"
            "thing.internal 443/tcp icmp"
        ],
        "Allow": [
            "192.168.3.5/32"
        ]
}
Start! #
Note
This will start the wag server attached to the console.
sudo ./wag start